
- Difficulty
- Intermediate
- Build time
- 60-100 min
- Estimated cost
- $0-$8
- Age range
- 11-18
- Workspace
- A clear table about 90 cm wide
The finish line
What you will build
A plastic practice egg or sealed snack bag survives three 1.5-metre indoor drops with no leak, shell opening, or capsule part leaving the landing zone.
Learning goals
- Identify how gravitational fall from a fixed height produces a longer, gentler payload stop.
- Construct and explain a vertical fall-to-deformation and deceleration system.
- Measure how crush-zone depth changes performance.
- Diagnose losses caused by crumple deformation and air drag.
Before you build
Materials, tools, and safety
Reuse-material cost: $0-$3 with reused materials. Supervision: Adult help recommended for sharp or heated tools.
Tools
- Ruler
- Pencil
- Scissors
- Masking tape
Low-cost swaps
- Use clean recycled packaging whenever it has similar stiffness.
- Substitute paper clips, binder clips, or twist ties for specialty fasteners.
- Use a tomato only with adult permission and a sealed secondary bag; a plastic egg is cleaner for repeated engineering tests.
Project-specific safety
- Wear eye protection when stretched elastic, magnets, or spinning parts are present.
- Test at floor or tabletop height and keep the path clear of people.
- Use only a supervised indoor drop at or below 1.5 metres, clear the landing zone, and never drop from stairs, roofs, or over people.
Orient the build
Place the build so gravitational fall from a fixed height is on your left and a longer, gentler payload stop is on your right. Call the side facing you the front, the far side the back, the tabletop the bottom, and the opposite face the top.
Build it
Step-by-step instructions
Step 1
Define the payload
Weigh and inspect the sealed practice payload.
Mark any existing dents or leaks.
Step 2
Build a suspension cup
Make four opposite holes near the cup rim and thread rubber bands through.
Center the payload without squeezing it.
Step 3
Create a straw frame
Tape straws into a cube larger than the cup on every side.
Add diagonal braces to stop collapse during handling.
Builder checkpoint: After create a straw frame, the first subassembly should stay aligned when handled gently.
Step 4
Suspend the cup
Connect the cup bands to frame corners so it floats with 3 cm clearance.
Check every direction.
Watch for: If this stage binds or drifts, inspect asymmetric landing before adding more parts.
Step 5
Add crush zones
Attach loose paper cones to the bottom and side corners.
Keep them replaceable after a drop.
Step 6
Set the landing zone
Tape a 60 cm square on the floor and place a flat towel inside.
Choose a safe 0.5-metre first height.
Builder checkpoint: After set the landing zone, operate the build slowly and confirm that a longer, gentler payload stop begins without binding.
Step 7
Run staged drops
Test at 0.5, 1.0, then 1.5 metres only after inspection passes.
Release without throwing or spinning.
Step 8
Inspect and improve
Measure deformation and payload movement after each drop.
Replace crushed parts before three final trials.
Builder checkpoint: At the final checkpoint, A plastic practice egg or sealed snack bag survives three 1.5-metre indoor drops with no leak, shell opening, or capsule part leaving the landing zone.
See the engineering
Why it works
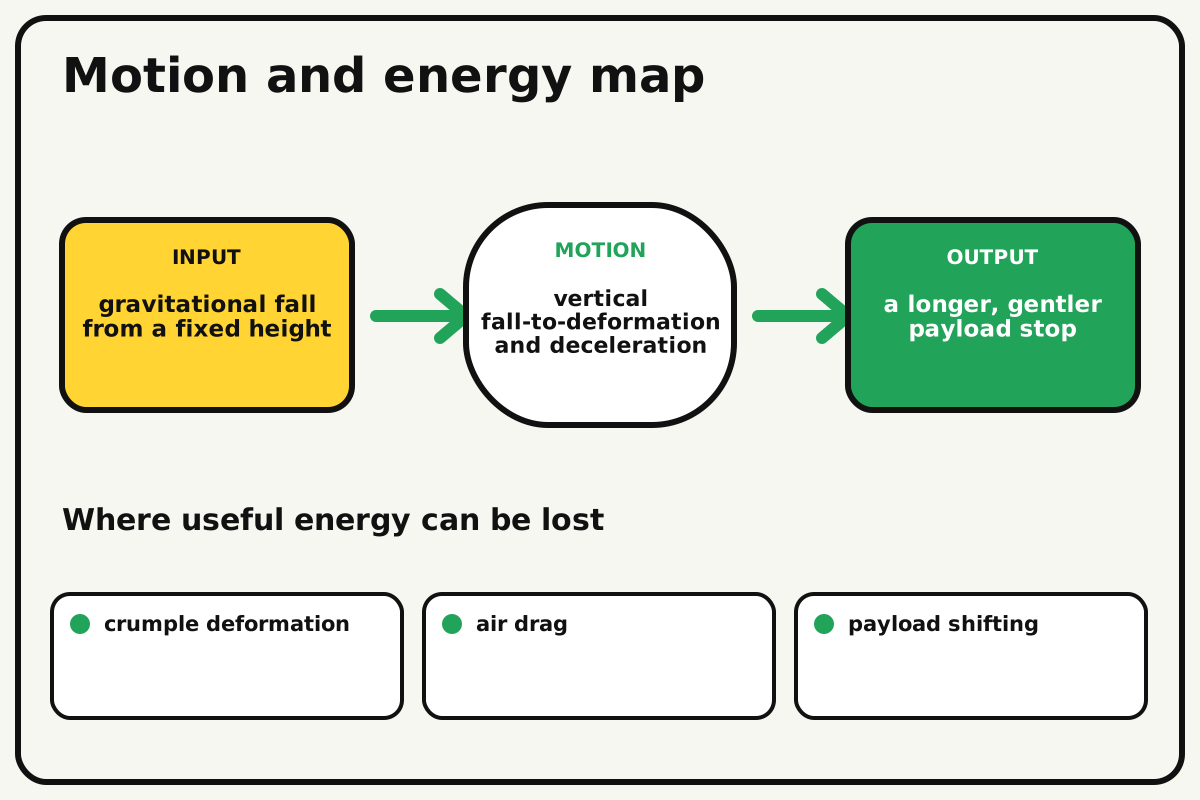
- Input
- gravitational fall from a fixed height
- Output
- a longer, gentler payload stop
- Motion
- vertical fall-to-deformation and deceleration
- Energy losses
- crumple deformation, air drag, payload shifting, asymmetric landing
Why this works
Impulse and stopping time
For the same change in momentum, increasing the time over which the payload stops lowers the average impact force. Crush zones and suspended supports extend that stop.
Look for: Film from the side and compare how far the outer capsule deforms before the payload stops moving.
Where the energy goes
Efficiency and losses
The ideal model leaves out crumple deformation, air drag, payload shifting, asymmetric landing. These effects turn some input energy into heat, sound, vibration, or unwanted motion, so measured performance will be lower than an ideal calculation.
Look for: Run the build slowly and locate the first place where crumple deformation becomes visible or audible.
Math bite
Estimate starting potential energy
Formula: energy = mass × g × height
- Mass = 0.10 kg
- g = 9.8 m/s²
- Height = 1.5 m
Substitute: energy = 0.10 × 9.8 × 1.5 = 1.47 J
Result: The capsule begins with about 1.47 joules of gravitational potential energy.
Crumple parts and motion must absorb or redirect that energy.
Air drag and rotation are ignored.
Make it behave
Test, troubleshoot, and tune
Controlled test
Start here: Begin with a 0.5-metre drop onto a flat towel.
Success looks like: The payload remains intact through three supervised 1.5-metre drops.
Measure: Payload damage, crush distance, landing orientation, and final offset.
Change: crush-zone depth
Keep constant: payload, frame, release orientation, height, landing surface, and inspector
- 2 cm crush zone
- 4 cm crush zone
- 6 cm crush zone
| Symptom | Likely cause | Confirm it | Fix |
|---|---|---|---|
| The payload hits the frame | Suspension clearance is too small | Push the cup gently in each direction | Shorten bands or enlarge the frame |
| The frame twists | Diagonal bracing is missing | Hold two corners and apply light twist | Add cross braces |
| It lands outside the zone | Release adds sideways velocity | Film the hand and first 20 cm | Use a level release gate |
| Damage repeats on one side | Mass is off-center or crush zones differ | Balance the capsule on a finger | Recenter payload and match zones |
Choose your tradeoff
Increase stopping distance while keeping the payload centered. More padding adds mass, so use purposeful crush geometry instead of filling every space.
Keep experimenting
Try another version
Plastic payload only
Test the structure without any food.
Material budget
Protect the same payload using fewer straws.
Acceleration estimate
Use high-frame-rate video to estimate stopping time and average deceleration.
Build together
Classroom and access options
Classroom version
Teams can compare crush-zone depth while keeping payload, frame, release orientation, height, landing surface, and inspector. Assign builder, tester, recorder, and explainer roles; have each team predict the result before collecting three trials.
Access adaptations
- Offer pre-cut parts and tactile or high-contrast measurement marks.
- Split roles so one builder can hold, another assemble, and another measure.
- Use a table-edge release gate, pre-cut straws, and team roles for measuring, releasing, observing, and inspecting.
Reflect on the design
- How did crush-zone depth change the measured result?
- Where did crumple deformation affect the build most strongly?
- What evidence shows that impulse and stopping time explains the motion?
- Which change would improve a longer, gentler payload stop without creating a new problem?
Glossary
- Impulse and stopping time
- For the same change in momentum, increasing the time over which the payload stops lowers the average impact force.
- Input
- The action or energy supplied to a system; here it is gravitational fall from a fixed height.
- Output
- The useful response produced by a system; here it is a longer, gentler payload stop.
- Efficiency
- The fraction of input energy that becomes useful output instead of friction, sound, heat, or unwanted motion.
Build your dreams
One build can start the next.
Share what you learned, change one variable, and help another builder understand what worked.
Explore more guidesSources and build notes
A familiar household engineering activity implemented with original instructions and controlled tests.
- Classroom engineering basis: A common educational challenge implemented with original dimensions, tests, diagrams, and instructions.
Written and edited by BrickLabClips. Published 2026-07-22; updated 2026-07-22.