
- Difficulty
- Intermediate
- Build time
- 60-90 min
- Estimated cost
- $0-$18
- Age range
- 11-17
- Workspace
- A clear table about 90 cm wide
The finish line
What you will build
Two perpendicular shafts rotate smoothly with continuous tooth contact, and equal bevel gears produce nearly one output turn per input turn in the opposite local direction.
Learning goals
- Identify how horizontal hand-crank rotation produces vertical shaft rotation.
- Construct and explain a rotary-to-rotary through 90 degrees system.
- Measure how the amount of gear backlash changes performance.
- Diagnose losses caused by bevel-tooth sliding and axial gear thrust.
Before you build
Materials, tools, and safety
Reuse-material cost: Usually under $5 with an existing kit. Supervision: Adult help recommended for sharp or heated tools.
Tools
- Ruler
- Removable tape for motion marks
Low-cost swaps
- Use equivalent brick-compatible parts from any kit.
- Use cardboard beams and straw bearings for a larger demonstration model.
- Use crown and spur gears when matching bevel gears are unavailable, then review the different contact geometry.
Project-specific safety
- Keep fingers, hair, and loose sleeves clear of moving parts.
- Turn the mechanism by hand; do not attach a high-speed motor.
- Keep hands away from the exposed corner mesh because bevel gears can pull fingers toward the intersection.
Orient the build
Place the build so horizontal hand-crank rotation is on your left and vertical shaft rotation is on your right. Call the side facing you the front, the far side the back, the tabletop the bottom, and the opposite face the top.
Build it
Step-by-step instructions
Step 1
Build the horizontal base
Brace a rectangular base with two cross members near the future gear corner.
Check that it stays flat under light twisting.
Step 2
Raise the vertical tower
Construct two parallel walls connected above and below the output bearing.
Use a square object to verify the tower is perpendicular to the base.
Step 3
Install the input shaft
Pass a horizontal axle through two supports and place its bevel gear near the corner.
Leave the crank end outside the frame.
Builder checkpoint: After install the input shaft, the first subassembly should stay aligned when handled gently.
Step 4
Locate the vertical shaft
Hold the second bevel gear against the first so their pitch cones meet evenly.
Mark the upper and lower bearing locations before attaching supports.
Watch for: If this stage binds or drifts, inspect shaft misalignment before adding more parts.
Step 5
Resist axial movement
Add collars above and below the vertical gear and inside the input support.
Leave enough running clearance that neither collar squeezes its bearing.
Step 6
Brace the corner
Connect the tower diagonally to the base without blocking either rotating shaft.
Press on the tower and confirm the gear centers stay fixed.
Builder checkpoint: After brace the corner, operate the build slowly and confirm that vertical shaft rotation begins without binding.
Step 7
Run a slow tooth test
Turn the input through five rotations and watch the full circumference of both gears.
Listen for a click that repeats once each turn.
Step 8
Apply a light output load
Lift a small paper clip chain or turn a pointer on the vertical shaft.
Reinforce the tower if the gears separate under load.
Builder checkpoint: At the final checkpoint, Two perpendicular shafts rotate smoothly with continuous tooth contact, and equal bevel gears produce nearly one output turn per input turn in the opposite local direction.
See the engineering
Why it works
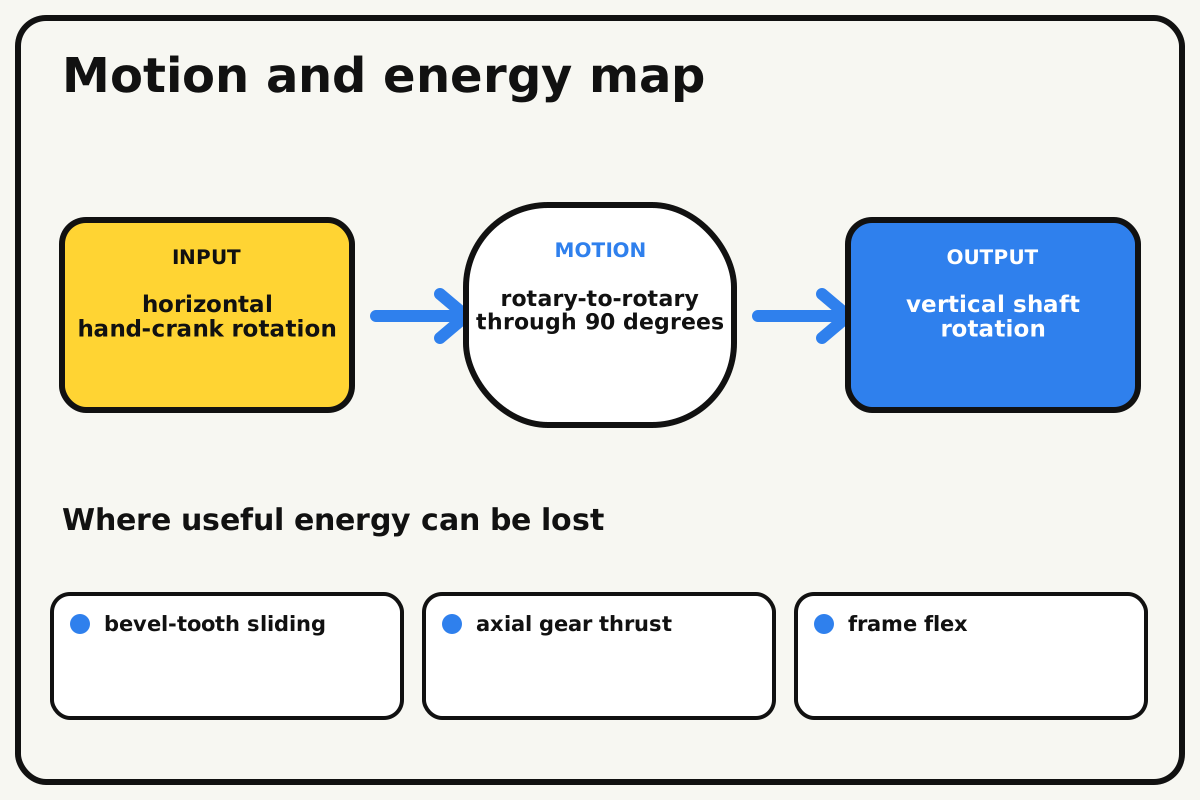
- Input
- horizontal hand-crank rotation
- Output
- vertical shaft rotation
- Motion
- rotary-to-rotary through 90 degrees
- Energy losses
- bevel-tooth sliding, axial gear thrust, frame flex, shaft misalignment
Why this works
Right-angle power transmission
Conical bevel-gear teeth meet along angled pitch surfaces. Their geometry redirects tangential tooth force between intersecting shafts, producing rotation about a perpendicular axis.
Look for: Watch the driven gear try to move along its axle as load increases; collars and frame walls resist that axial thrust.
Where the energy goes
Efficiency and losses
The ideal model leaves out bevel-tooth sliding, axial gear thrust, frame flex, shaft misalignment. These effects turn some input energy into heat, sound, vibration, or unwanted motion, so measured performance will be lower than an ideal calculation.
Look for: Run the build slowly and locate the first place where bevel-tooth sliding becomes visible or audible.
Math bite
Find the ideal right-angle ratio
Formula: speed ratio = driven teeth / driver teeth
- Driver bevel gear = 20 teeth
- Driven bevel gear = 20 teeth
Substitute: ratio = 20/20 = 1
Result: The ideal output speed equals the input speed.
The shaft direction changes by 90 degrees even though the speed ratio stays one-to-one.
Sliding contact, thrust, and alignment error reduce real efficiency.
Make it behave
Test, troubleshoot, and tune
Controlled test
Start here: Turn the unloaded crank at one rotation every two seconds.
Success looks like: The vertical output completes one smooth turn per input turn without lifting either gear.
Measure: Input and output turns plus tower deflection under a small load.
Change: the amount of gear backlash
Keep constant: gear pair, crank rate, tower height, and output load
- loose mesh
- moderate mesh
- tight mesh
| Symptom | Likely cause | Confirm it | Fix |
|---|---|---|---|
| Teeth click once per turn | A bevel gear is tilted or not fully seated | Mark the noisy angle and inspect both hubs | Square the shaft and reseat the gear |
| Gears push apart under load | Axial thrust is moving a shaft | Watch collars while holding the output lightly | Add collars and reinforce both bearing walls |
| The tower leans | The base-to-tower joint lacks triangulation | Measure the 90-degree angle before and during turning | Add diagonal braces on two faces |
| The output is rough everywhere | Shaft centers do not intersect correctly | Remove one gear and compare axle centerlines | Rebuild supports so axes meet at the gear corner |
Choose your tradeoff
A slight backlash protects against binding, but too much lets bevel teeth strike instead of roll smoothly. Adjust shaft position in one direction at a time and brace after the best mesh is found.
Keep experimenting
Try another version
Pointer drive
Run only a lightweight arrow on the output shaft.
Unequal bevel ratio
Use different tooth counts and calculate the new speed change.
Two-corner transmission
Add a second bevel pair and predict the final shaft direction.
Build together
Classroom and access options
Classroom version
Teams can compare the amount of gear backlash while keeping gear pair, crank rate, tower height, and output load. Assign builder, tester, recorder, and explainer roles; have each team predict the result before collecting three trials.
Access adaptations
- Use high-contrast tape to distinguish input and output parts.
- Replace a small crank with a wider handle for an easier grip.
- Use a vertical output flag tall enough to read from the front without leaning over the mesh.
Reflect on the design
- How did the amount of gear backlash change the measured result?
- Where did bevel-tooth sliding affect the build most strongly?
- What evidence shows that right-angle power transmission explains the motion?
- Which change would improve vertical shaft rotation without creating a new problem?
Glossary
- Right-angle power transmission
- Conical bevel-gear teeth meet along angled pitch surfaces.
- Input
- The action or energy supplied to a system; here it is horizontal hand-crank rotation.
- Output
- The useful response produced by a system; here it is vertical shaft rotation.
- Efficiency
- The fraction of input energy that becomes useful output instead of friction, sound, heat, or unwanted motion.
Build your dreams
One build can start the next.
Share what you learned, change one variable, and help another builder understand what worked.
Explore more guidesSources and build notes
An original BrickLabClips interpretation of a standard mechanical mechanism.
- Mechanism verification: Standard kinematics were checked for motion direction, constraint, clearance, and likely friction points.
Written and edited by BrickLabClips. Published 2026-07-22; updated 2026-07-22.