
- Difficulty
- Beginner
- Build time
- 30-50 min
- Estimated cost
- $0-$5
- Age range
- 10-16
- Workspace
- A clear table about 90 cm wide
The finish line
What you will build
The hovercraft glides at least 75 cm from a gentle level release and repeats three runs without its balloon or nozzle detaching.
Learning goals
- Identify how pressurized air from an inflated balloon produces a supporting air film and horizontal glide.
- Construct and explain a airflow-to-low-friction translation system.
- Measure how nozzle opening changes performance.
- Diagnose losses caused by air leakage and surface roughness.
Before you build
Materials, tools, and safety
Reuse-material cost: $0-$3 with reused materials. Supervision: Adult help recommended for sharp or heated tools.
Tools
- Ruler
- Pencil
- Scissors
- Masking tape
Low-cost swaps
- Use clean recycled packaging whenever it has similar stiffness.
- Substitute paper clips, binder clips, or twist ties for specialty fasteners.
- Use a smooth plastic lid with a centered adult-made hole instead of a disc.
Project-specific safety
- Wear eye protection when stretched elastic, magnets, or spinning parts are present.
- Test at floor or tabletop height and keep the path clear of people.
- Check latex allergies, discard torn balloons, keep fragments away from young children, and never place the inflated balloon near a face.
Orient the build
Place the build so pressurized air from an inflated balloon is on your left and a supporting air film and horizontal glide is on your right. Call the side facing you the front, the far side the back, the tabletop the bottom, and the opposite face the top.
Build it
Step-by-step instructions
Step 1
Prepare the base
Inspect the disk and cover any sharp center edge with tape.
Mark the geometric center.
Step 2
Make the air port
Center the nozzle over the hole and seal its entire rim.
Keep the opening vertical.
Step 3
Check the seal
Blow gently through the nozzle while covering the bottom opening.
Listen and feel for side leaks.
Builder checkpoint: After check the seal, the first subassembly should stay aligned when handled gently.
Step 4
Attach the balloon
Stretch the neck over the closed nozzle without tearing it.
Support the balloon so it does not tip the disk.
Watch for: If this stage binds or drifts, inspect nozzle restriction before adding more parts.
Step 5
Set a control run
Slide the uninflated craft from a fixed release mark.
Measure stopping distance.
Step 6
Inflate safely
Remove the balloon, inflate it, pinch the neck, and reconnect with the nozzle closed.
Keep the opening pointed away from faces.
Builder checkpoint: After inflate safely, operate the build slowly and confirm that a supporting air film and horizontal glide begins without binding.
Step 7
Release the air film
Place the craft level, open the nozzle, and give the same gentle release.
Measure distance and time.
Step 8
Compare flow settings
Test three nozzle openings with equal balloon circumference.
Record glide distance before reinflating.
Builder checkpoint: At the final checkpoint, The hovercraft glides at least 75 cm from a gentle level release and repeats three runs without its balloon or nozzle detaching.
See the engineering
Why it works
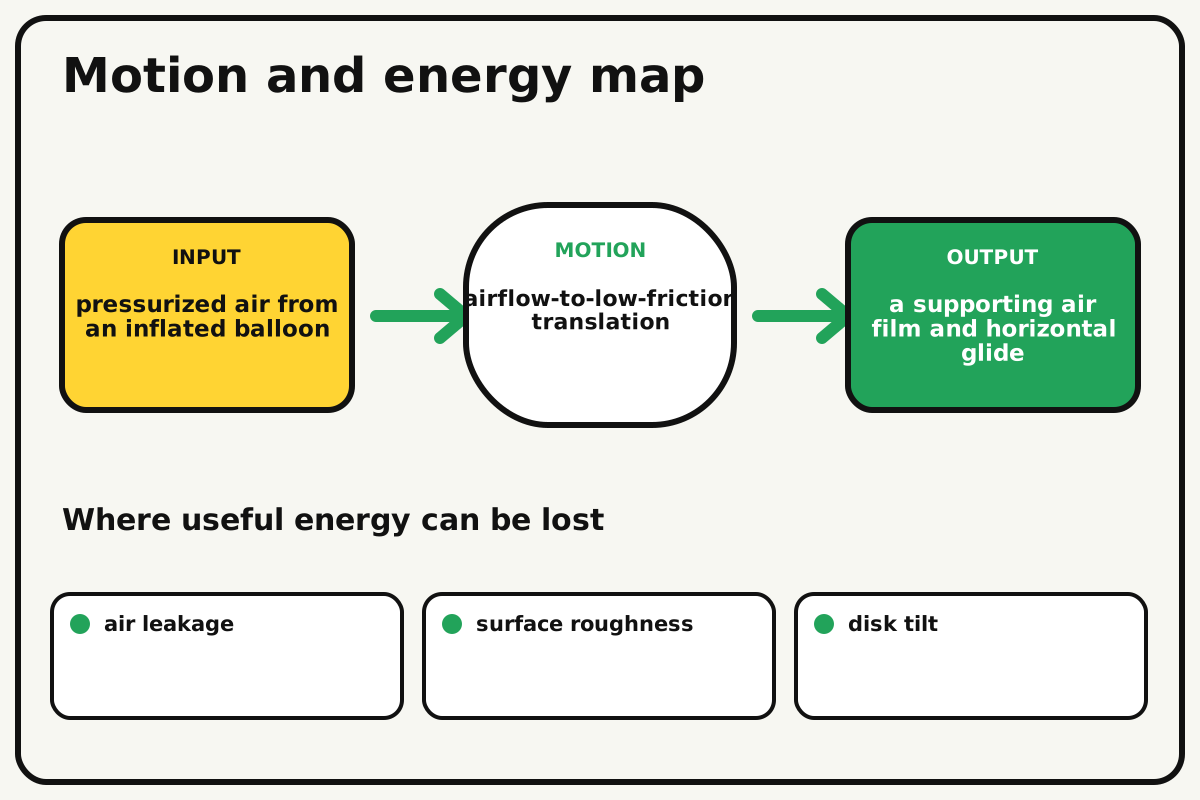
- Input
- pressurized air from an inflated balloon
- Output
- a supporting air film and horizontal glide
- Motion
- airflow-to-low-friction translation
- Energy losses
- air leakage, surface roughness, disk tilt, nozzle restriction
Why this works
Air-film lubrication
Air escaping beneath the disk raises it by a tiny amount and reduces direct contact. The lift is small, but lowering friction makes a gentle push last longer.
Look for: Compare how quickly the disk stops with the nozzle closed and open on the same tabletop.
Where the energy goes
Efficiency and losses
The ideal model leaves out air leakage, surface roughness, disk tilt, nozzle restriction. These effects turn some input energy into heat, sound, vibration, or unwanted motion, so measured performance will be lower than an ideal calculation.
Look for: Run the build slowly and locate the first place where air leakage becomes visible or audible.
Math bite
Compare friction reduction
Formula: distance gain = air-on distance / air-off distance
- Air off = 0.20 m
- Air on = 0.90 m
Substitute: gain = 0.90 / 0.20 = 4.5
Result: The air-on craft glides 4.5 times farther in this test.
Longer glide suggests lower effective friction.
Release force and balloon pressure are approximate.
Make it behave
Test, troubleshoot, and tune
Controlled test
Start here: Run the disk once with no air as a control.
Success looks like: With air on, it glides at least 75 cm and farther than the control.
Measure: Glide distance, time, and path curvature.
Change: nozzle opening
Keep constant: disk, table, balloon circumference, release ramp, and start point
- small opening
- medium opening
- fully open
| Symptom | Likely cause | Confirm it | Fix |
|---|---|---|---|
| The craft does not lift | Air escapes around the nozzle | Feel around the seal | Reseal the full rim |
| It tips and drags | Balloon or nozzle is off-center | View from table height | Recenter the mass and port |
| Air empties instantly | Opening is too large | Time the discharge | Restrict the nozzle |
| The craft curves | Base is warped or table is uneven | Rotate the disk and repeat | Flatten the base or change surface |
Choose your tradeoff
A centered, airtight port matters more than maximum balloon size. Faster airflow can create more lift but shortens the useful glide time.
Keep experimenting
Try another version
On-and-off comparison
Use one nozzle opening and measure five runs.
Skirt experiment
Add a loose paper ring beneath the edge and compare stability.
Hover target
Tune airflow to stop inside a taped landing zone.
Build together
Classroom and access options
Classroom version
Teams can compare nozzle opening while keeping disk, table, balloon circumference, release ramp, and start point. Assign builder, tester, recorder, and explainer roles; have each team predict the result before collecting three trials.
Access adaptations
- Offer pre-cut parts and tactile or high-contrast measurement marks.
- Split roles so one builder can hold, another assemble, and another measure.
- Use a large pull tab on the nozzle and a marked release rail so the builder can start the craft without pinching the balloon.
Reflect on the design
- How did nozzle opening change the measured result?
- Where did air leakage affect the build most strongly?
- What evidence shows that air-film lubrication explains the motion?
- Which change would improve a supporting air film and horizontal glide without creating a new problem?
Glossary
- Air-film lubrication
- Air escaping beneath the disk raises it by a tiny amount and reduces direct contact.
- Input
- The action or energy supplied to a system; here it is pressurized air from an inflated balloon.
- Output
- The useful response produced by a system; here it is a supporting air film and horizontal glide.
- Efficiency
- The fraction of input energy that becomes useful output instead of friction, sound, heat, or unwanted motion.
Build your dreams
One build can start the next.
Share what you learned, change one variable, and help another builder understand what worked.
Explore more guidesSources and build notes
A familiar household engineering activity implemented with original instructions and controlled tests.
- Classroom engineering basis: A common educational challenge implemented with original dimensions, tests, diagrams, and instructions.
Written and edited by BrickLabClips. Published 2026-07-22; updated 2026-07-22.