
- Difficulty
- Intermediate
- Build time
- 70-110 min
- Estimated cost
- $0-$6
- Age range
- 11-18
- Workspace
- A clear table about 90 cm wide
The finish line
What you will build
The bridge spans 40 cm, supports at least 1 kilogram for ten seconds, and stays within a 100-point material budget.
Learning goals
- Identify how downward center-span test load produces distributed force paths to two supports.
- Construct and explain a static loading-to-structural deformation system.
- Measure how one reinforcement purchase changes performance.
- Diagnose losses caused by joint slip and member buckling.
Before you build
Materials, tools, and safety
Reuse-material cost: $0-$3 with reused materials. Supervision: Adult help recommended for sharp or heated tools.
Tools
- Ruler
- Pencil
- Scissors
- Timer or phone stopwatch
Low-cost swaps
- Use reclaimed paper and packaging while keeping material limits equal for every team.
- Replace metal test weights with labeled bags of coins or washers.
- Use rolled paper beams with a teacher-assigned points menu based on material mass.
Project-specific safety
- Keep load and drop tests below shoulder height and away from faces.
- Clear the test zone before releasing moving objects or suspended loads.
- Test near floor level behind a clear line, add only bagged mass, and stop at visible rapid deformation.
Orient the build
Place the build so downward center-span test load is on your left and distributed force paths to two supports is on your right. Call the side facing you the front, the far side the back, the tabletop the bottom, and the opposite face the top.
Build it
Step-by-step instructions
Step 1
Publish the price list
Write costs for sticks, tape, deck, and optional reinforcements.
Give every team 100 points.
Step 2
Sketch two concepts
Draw side and top views with predicted force paths.
Estimate the cost of each before choosing.
Step 3
Build identical side trusses
Lay members over one full-size template.
Make joints overlap rather than meet at unsupported points.
Builder checkpoint: After build identical side trusses, the first subassembly should stay aligned when handled gently.
Step 4
Connect the sides
Add cross beams at panel points and diagonal top bracing.
Keep the span square.
Watch for: If this stage binds or drifts, inspect support movement before adding more parts.
Step 5
Install the deck
Attach the light deck at multiple panel points.
Avoid relying on one tape loop.
Step 6
Audit the budget
Count every member and measured tape length.
Remove or document any over-budget material.
Builder checkpoint: After audit the budget, operate the build slowly and confirm that distributed force paths to two supports begins without binding.
Step 7
Run staged loading
Add 250 grams every ten seconds at midspan.
Record deflection and first damage.
Step 8
Calculate the score
Use maximum passing load divided by points spent.
Compare which material choices produced value.
Builder checkpoint: At the final checkpoint, The bridge spans 40 cm, supports at least 1 kilogram for ten seconds, and stays within a 100-point material budget.
See the engineering
Why it works
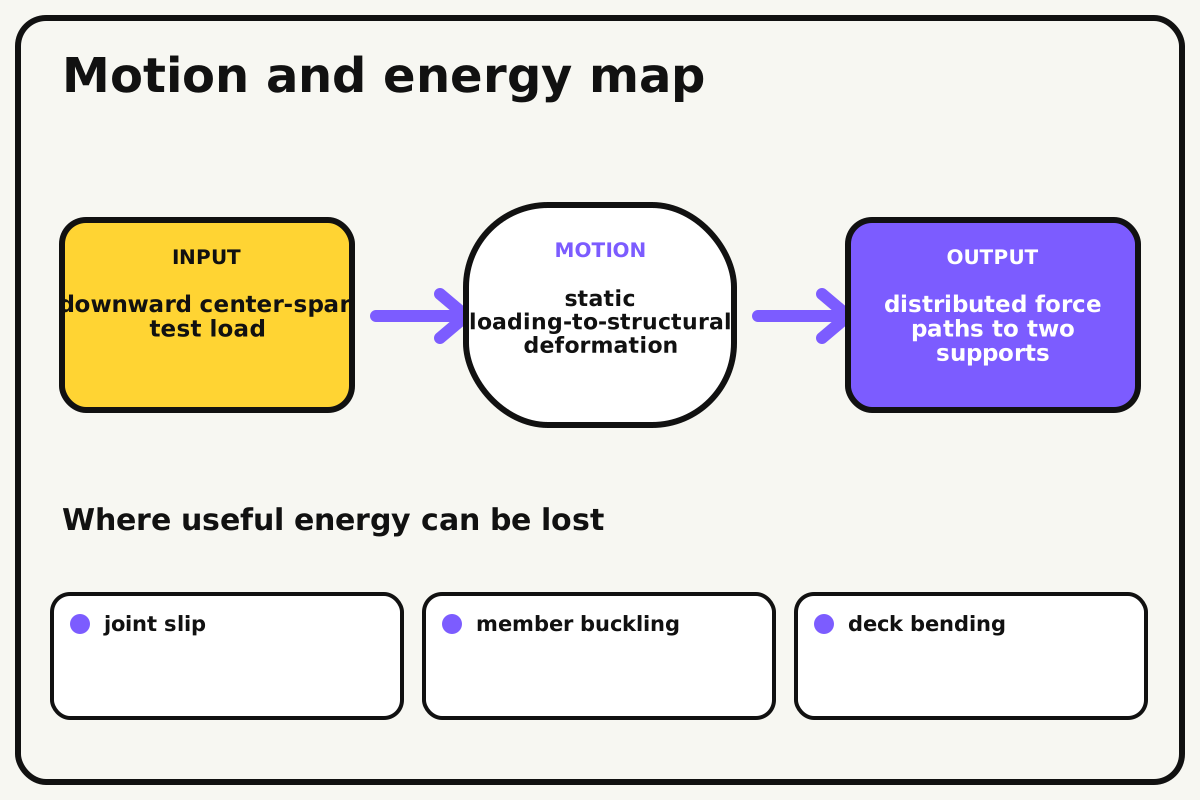
- Input
- downward center-span test load
- Output
- distributed force paths to two supports
- Motion
- static loading-to-structural deformation
- Energy losses
- joint slip, member buckling, deck bending, support movement
Why this works
Strength-to-cost optimization
A truss carries load efficiently when members align with tension and compression paths. Budget scoring rewards material placed where force is greatest instead of uniform overbuilding.
Look for: Before loading, predict one tension member and one compression member, then watch how each deforms.
Where the energy goes
Efficiency and losses
The ideal model leaves out joint slip, member buckling, deck bending, support movement. These effects turn some input energy into heat, sound, vibration, or unwanted motion, so measured performance will be lower than an ideal calculation.
Look for: Run the build slowly and locate the first place where joint slip becomes visible or audible.
Math bite
Calculate budget efficiency
Formula: efficiency = passing load / points spent
- Passing load = 1500 g
- Cost = 90 points
Substitute: efficiency = 1500 / 90 = 16.7 g/point
Result: The bridge supports about 16.7 grams per budget point.
A cheaper bridge can outperform a stronger expensive bridge on this score.
Load increments and material pricing are classroom conventions.
Make it behave
Test, troubleshoot, and tune
Controlled test
Start here: Press lightly on the empty deck and inspect every joint before adding mass.
Success looks like: The bridge spans 40 cm, stays within 100 points, and holds 1 kilogram for ten seconds.
Measure: Passing load, cost, midspan deflection, and first failure.
Change: one reinforcement purchase
Keep constant: span, load location, rate, material prices, supports, and score formula
- baseline design
- added top chord
- same cost moved to diagonal bracing
| Symptom | Likely cause | Confirm it | Fix |
|---|---|---|---|
| The deck folds | Load does not reach truss panel points | Watch deck before side members | Add cross beams under the load plate |
| A top member bows | Compression member is too slender | View from the side during low load | Shorten with bracing or laminate it |
| The bridge twists | Side trusses are not cross-braced | Push one top corner gently | Add diagonal connections between sides |
| The budget is exceeded | Materials were not tracked during assembly | Compare build to purchase sheet | Remove low-value pieces or redesign |
Choose your tradeoff
Move material toward observed failure locations rather than adding it everywhere. Stronger reinforcement may reduce budget efficiency if it does not increase the passing load step.
Keep experimenting
Try another version
Five-hundred-gram target
Use a 30 cm span and 80 points.
Auction pricing
Change material prices based on class demand.
Optimization round
Rebuild with 10 fewer points while matching the first load.
Build together
Classroom and access options
Classroom version
Teams can compare one reinforcement purchase while keeping span, load location, rate, material prices, supports, and score formula. Assign builder, tester, recorder, and explainer roles; have each team predict the result before collecting three trials.
Access adaptations
- Assign varied roles such as designer, builder, tester, recorder, and presenter.
- Provide pre-measured materials and a visual checklist when helpful.
- Provide a large-print price menu, pre-counted material bundles, and roles for budget, structure, construction, and test documentation.
Reflect on the design
- How did one reinforcement purchase change the measured result?
- Where did joint slip affect the build most strongly?
- What evidence shows that strength-to-cost optimization explains the motion?
- Which change would improve distributed force paths to two supports without creating a new problem?
Glossary
- Strength-to-cost optimization
- A truss carries load efficiently when members align with tension and compression paths.
- Input
- The action or energy supplied to a system; here it is downward center-span test load.
- Output
- The useful response produced by a system; here it is distributed force paths to two supports.
- Efficiency
- The fraction of input energy that becomes useful output instead of friction, sound, heat, or unwanted motion.
Build your dreams
One build can start the next.
Share what you learned, change one variable, and help another builder understand what worked.
Explore more guidesSources and build notes
A common classroom engineering challenge implemented with original constraints, diagrams, and measurement guidance.
- Classroom challenge basis: A controlled-variable engineering activity with original constraints, scoring ideas, and measurement guidance.
Written and edited by BrickLabClips. Published 2026-07-22; updated 2026-07-22.