
- Difficulty
- Beginner
- Build time
- 35-55 min
- Estimated cost
- $0-$5
- Age range
- 10-16
- Workspace
- A clear table about 90 cm wide
The finish line
What you will build
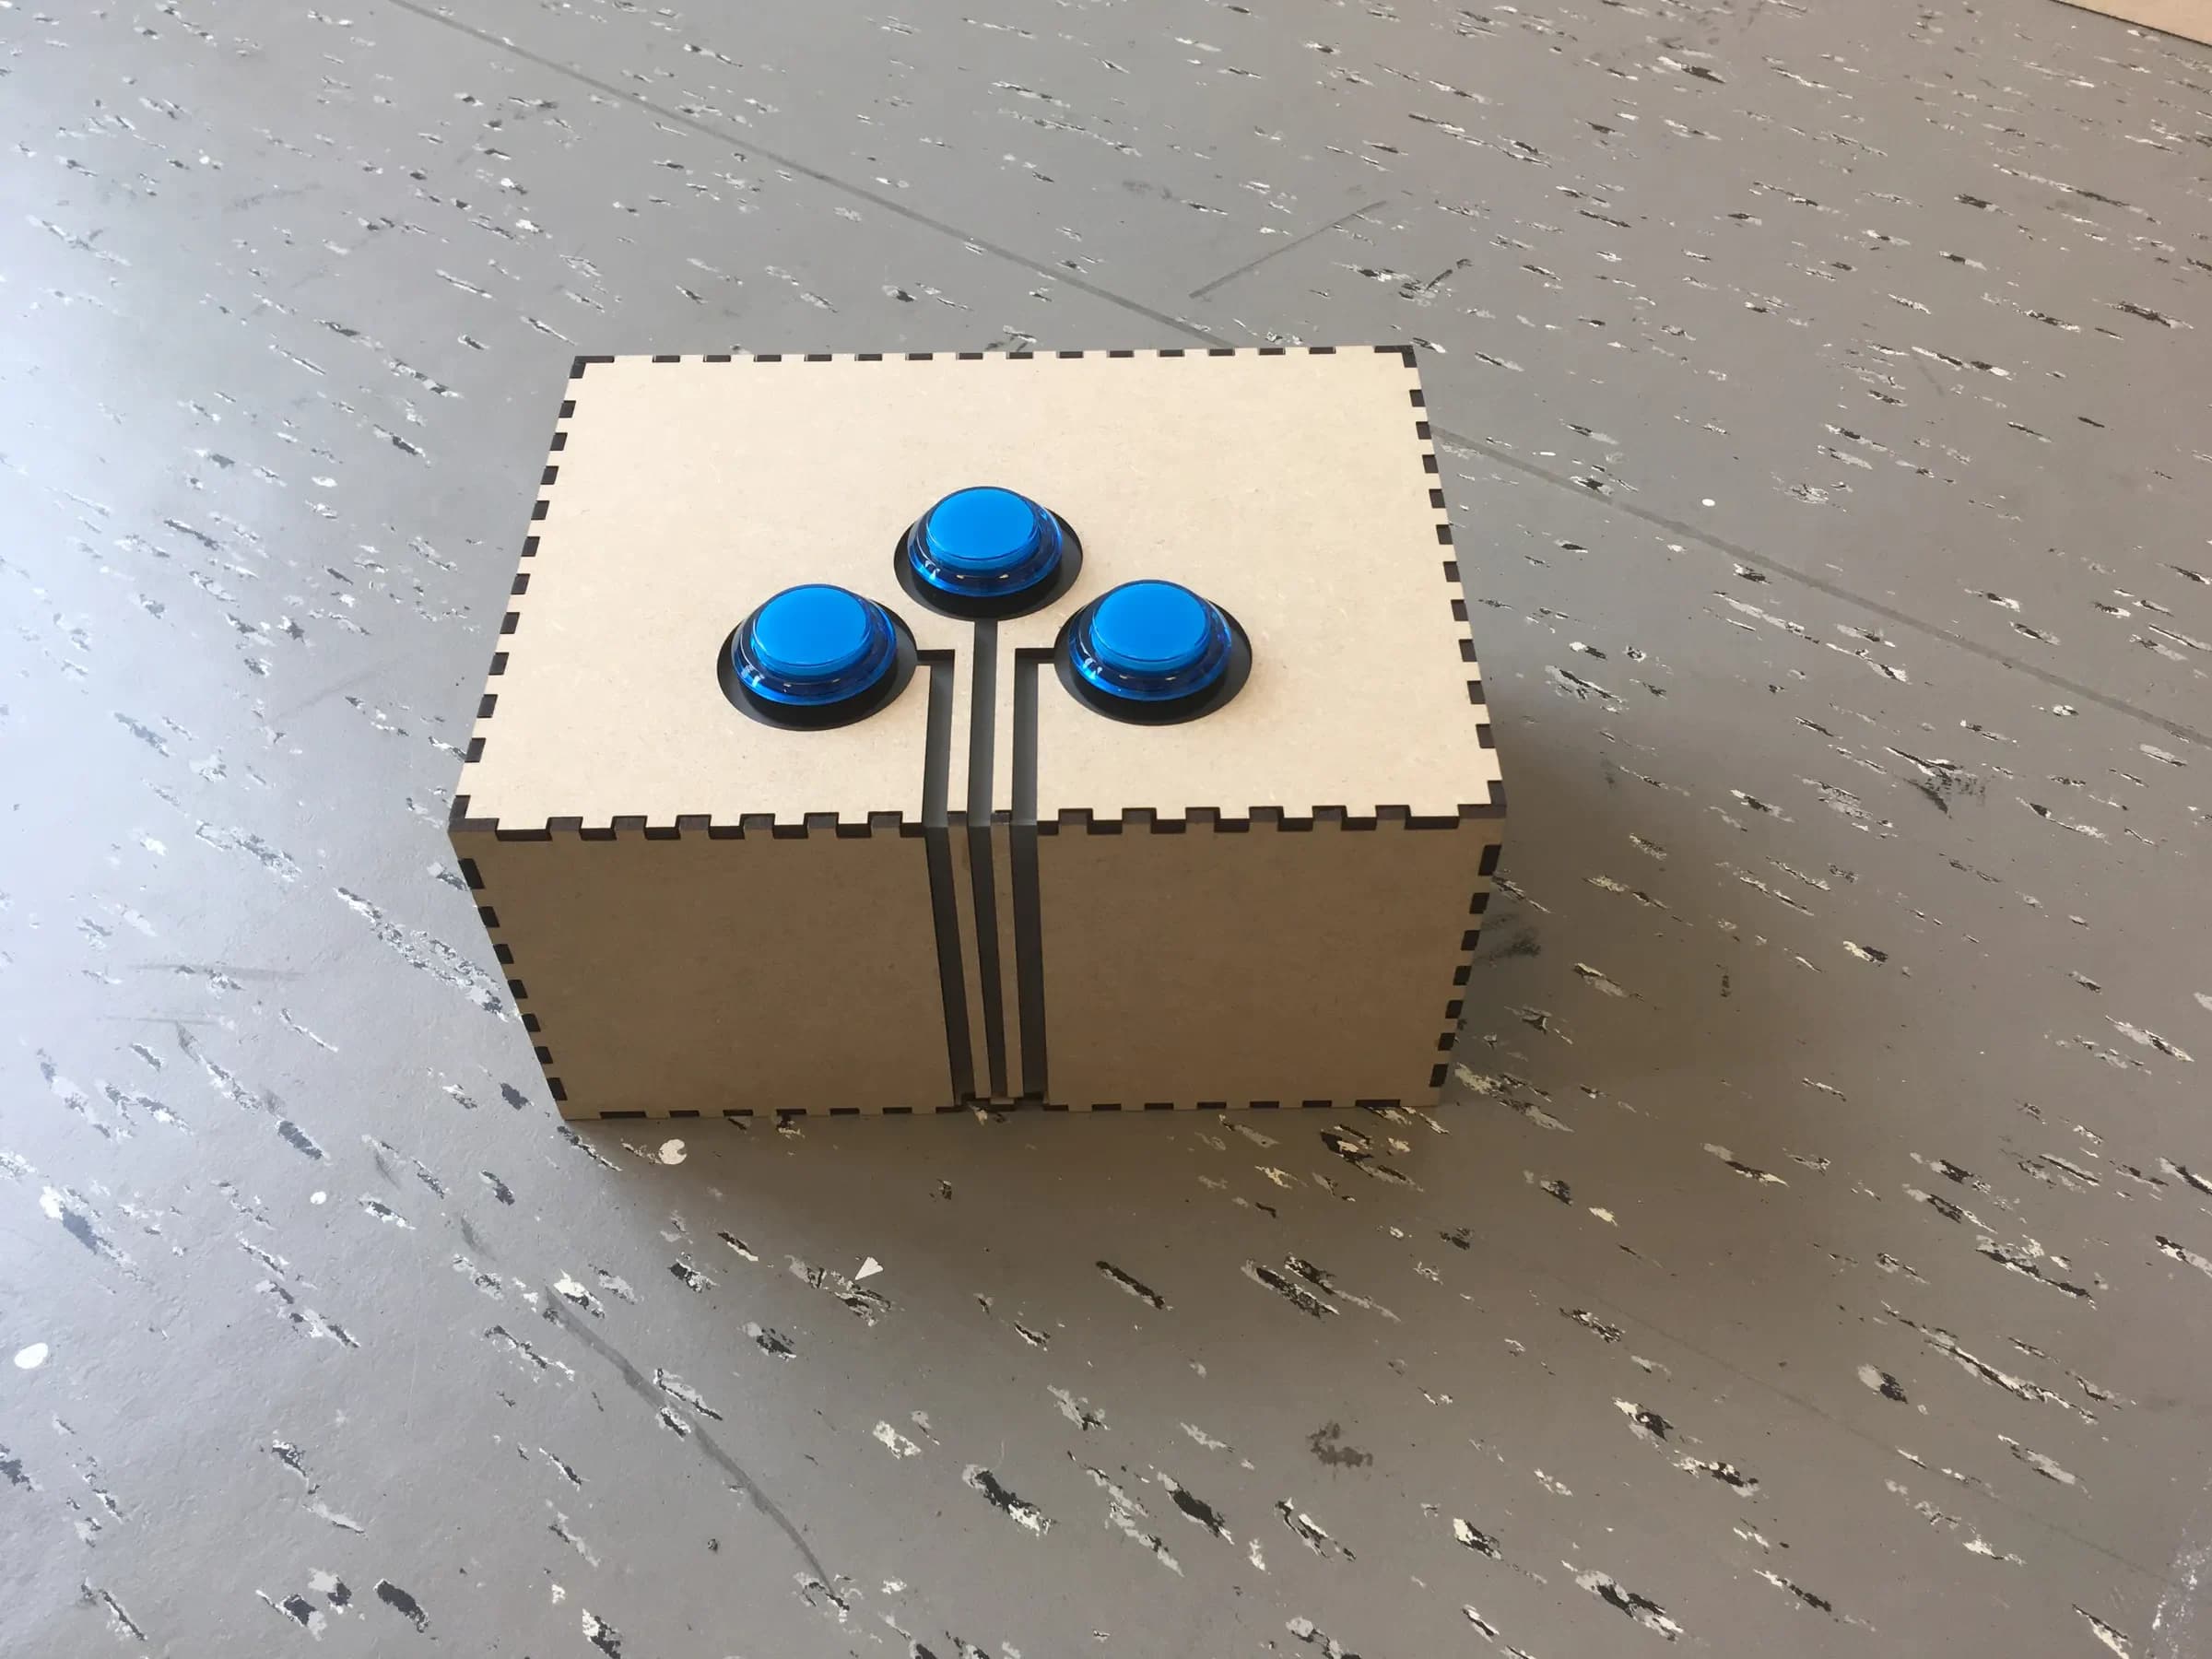
The button presses at least 8 mm, returns after release, and closes the low-voltage contact on nine of ten deliberate presses without staying stuck.
Learning goals
- Identify how downward hand press on the cap produces momentary low-voltage electrical contact.
- Construct and explain a linear press-to-binary switch state system.
- Measure how the folded-spring height changes performance.
- Diagnose losses caused by guide rubbing and spring fatigue.
Before you build
Materials, tools, and safety
Reuse-material cost: $0-$3 with reused materials. Supervision: Adult help recommended for sharp or heated tools.
Tools
- Ruler
- Pencil
- Scissors
- Low-temperature glue gun or tape
- Adult-operated craft knife for the top opening
Low-cost swaps
- Use clean shipping-box cardboard instead of buying sheets.
- Replace hot glue with strong tape and folded tabs.
- Use copper tape or flattened paper clips instead of foil contacts.
Project-specific safety
- An adult should handle craft knives and make difficult starter cuts.
- Let hot glue cool before pressing a joint or testing moving parts.
- Connect only to a battery-powered continuity tester or logic input; never connect the cardboard switch to mains electricity.
Orient the build
Place the build so downward hand press on the cap is on your left and momentary low-voltage electrical contact is on your right. Call the side facing you the front, the far side the back, the tabletop the bottom, and the opposite face the top.
Build it
Step-by-step instructions
Step 1
Cut the button box
Make a 12 × 12 cm base and four 4 cm-high walls with fold tabs.
Keep corrugation vertical in the walls for stiffness.
Step 2
Create the top guide
Cut a centered 9 cm square opening in a reinforced lid.
Leave at least 15 mm of material around every edge.
Step 3
Build the moving cap
Laminate two 10 cm squares and add four short guide tabs below.
Sand or trim tabs until the cap moves freely through the opening.
Builder checkpoint: After build the moving cap, the first subassembly should stay aligned when handled gently.
Step 4
Fold the return springs
Accordion-fold four 2 × 8 cm strips into equal V shapes.
Place one near each cap corner without blocking the center.
Watch for: If this stage binds or drifts, inspect contact bounce before adding more parts.
Step 5
Install the lower contact
Glue one foil pad flat to the base and connect its lead away from moving parts.
Smooth wrinkles that could cause early contact.
Step 6
Install the moving contact
Attach the second foil pad to the cap underside directly above the first.
Leave enough lead slack for full travel.
Builder checkpoint: After install the moving contact, operate the build slowly and confirm that momentary low-voltage electrical contact begins without binding.
Step 7
Close and test travel
Tape the lid to the walls with a removable hinge.
Press all four cap corners and correct any rubbing.
Step 8
Run ten switch trials
Connect the low-voltage tester and press in the center ten times.
Record clean signals, missed presses, and stuck returns.
Builder checkpoint: At the final checkpoint, The button presses at least 8 mm, returns after release, and closes the low-voltage contact on nine of ten deliberate presses without staying stuck.
See the engineering
Why it works
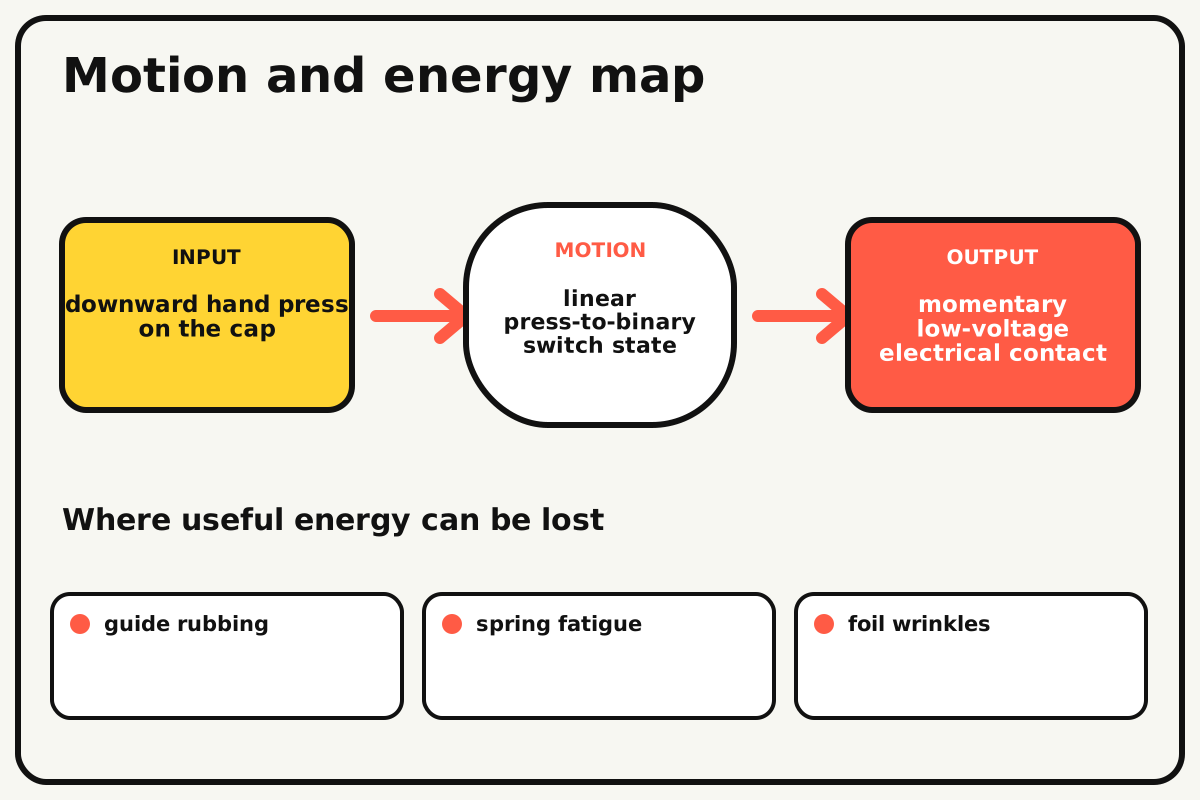
- Input
- downward hand press on the cap
- Output
- momentary low-voltage electrical contact
- Motion
- linear press-to-binary switch state
- Energy losses
- guide rubbing, spring fatigue, foil wrinkles, contact bounce
Why this works
Normally open switch
Two conductive surfaces remain separated until the moving cap travels far enough to touch them. Folded cardboard springs store elastic energy and lift the cap when pressure is removed.
Look for: Connect a continuity tester and listen for one clear signal near the bottom of each press.
Where the energy goes
Efficiency and losses
The ideal model leaves out guide rubbing, spring fatigue, foil wrinkles, contact bounce. These effects turn some input energy into heat, sound, vibration, or unwanted motion, so measured performance will be lower than an ideal calculation.
Look for: Run the build slowly and locate the first place where guide rubbing becomes visible or audible.
Math bite
Find switch reliability
Formula: reliability = successful presses / total presses × 100%
- Successful presses = 9
- Total presses = 10
Substitute: reliability = 9/10 × 100% = 90%
Result: The prototype worked on 90 percent of test presses.
Guide and contact changes should raise repeatability.
A ten-press sample is small and does not predict long-term wear.
Make it behave
Test, troubleshoot, and tune
Controlled test
Start here: Press once at the cap center with the circuit disconnected to confirm free return.
Success looks like: The cap returns above the contact gap and produces a clean signal on at least nine of ten presses.
Measure: Press travel, successful contacts, and return time.
Change: the folded-spring height
Keep constant: cap, guide opening, contacts, press location, tester, and trial count
- low springs
- medium springs
- taller springs
| Symptom | Likely cause | Confirm it | Fix |
|---|---|---|---|
| The cap stays down | Guide tabs rub or springs collapse | Press each corner with lid open | Trim tabs and replace springs |
| The tester is always on | Foil pads touch at rest or leads short | Remove cap and test each lead | Increase contact gap and insulate crossings |
| Presses are missed | Pads are misaligned or cap tilts | Press slowly and watch contact overlap | Enlarge pads or add guides |
| The signal flickers | Foil is wrinkled or cap bounces | Hold the cap down steadily | Smooth pads and add a soft contact spacer |
Choose your tradeoff
Increase guide clearance before increasing spring force. Strong springs improve return but require a harder press; larger contacts improve reliability but can close too early.
Keep experimenting
Try another version
Mechanical clicker
Use the cap to tap a paper flap without any circuit.
Two-contact button
Wire two parallel contact spots for better reliability.
Game controller
Connect the button to a verified low-voltage keyboard interface with adult guidance.
Build together
Classroom and access options
Classroom version
Teams can compare the folded-spring height while keeping cap, guide opening, contacts, press location, tester, and trial count. Assign builder, tester, recorder, and explainer roles; have each team predict the result before collecting three trials.
Access adaptations
- Pre-cut repeated pieces and mark fold lines with high-contrast ink.
- Use large tabs, binder clips, and tape for easier one-handed assembly.
- Make the cap 15 cm square and add a raised tactile symbol for a larger target.
Reflect on the design
- How did the folded-spring height change the measured result?
- Where did guide rubbing affect the build most strongly?
- What evidence shows that normally open switch explains the motion?
- Which change would improve momentary low-voltage electrical contact without creating a new problem?
Glossary
- Normally open switch
- Two conductive surfaces remain separated until the moving cap travels far enough to touch them.
- Input
- The action or energy supplied to a system; here it is downward hand press on the cap.
- Output
- The useful response produced by a system; here it is momentary low-voltage electrical contact.
- Efficiency
- The fraction of input energy that becomes useful output instead of friction, sound, heat, or unwanted motion.
Build your dreams
One build can start the next.
Share what you learned, change one variable, and help another builder understand what worked.
Explore more guidesSources and build notes
An original BrickLabClips cardboard machine with dimensionally specified construction.
- Cardboard design verification: Dimensions, fold allowances, repeated-motion joints, and likely load paths received an editorial geometry review.
Written and edited by BrickLabClips. Published 2026-07-22; updated 2026-07-22.
Next builds
Related guides
Scratch Arcade Game
Build a keyboard-controlled collecting game with falling objects, lives, score, speed progression, and a clear restart loop.
Robotics/electronicsCapacitive-Touch Cardboard Piano
Turn foil-covered cardboard keys into capacitive touch inputs that play a simple five-note scale.
Robotics/electronicsLED Reaction Timer
Measure response time to a randomly delayed LED cue while rejecting early button presses.