
- Difficulty
- Intermediate
- Build time
- 60-85 min
- Estimated cost
- $0-$15
- Age range
- 11-17
- Workspace
- A clear table about 90 cm wide
The finish line
What you will build
The yoke travels smoothly through a stroke twice the crank radius for ten cycles while remaining parallel to its guide rails.
Learning goals
- Identify how rotation of an offset crank pin produces straight yoke oscillation.
- Construct and explain a rotary-to-reciprocating linear system.
- Measure how the slot-liner material changes performance.
- Diagnose losses caused by pin-slot sliding and guide rubbing.
Before you build
Materials, tools, and safety
Reuse-material cost: Usually under $5 with an existing kit. Supervision: Adult help recommended for sharp or heated tools.
Tools
- Ruler
- Removable tape for motion marks
Low-cost swaps
- Use equivalent brick-compatible parts from any kit.
- Use cardboard beams and straw bearings for a larger demonstration model.
- Cut a rounded vertical slot in laminated cardboard and use a capped paper fastener as the crank pin.
Project-specific safety
- Keep fingers, hair, and loose sleeves clear of moving parts.
- Turn the mechanism by hand; do not attach a high-speed motor.
- Keep the open slot covered from above or turn from the side so fingers cannot enter the moving pin path.
Orient the build
Place the build so rotation of an offset crank pin is on your left and straight yoke oscillation is on your right. Call the side facing you the front, the far side the back, the tabletop the bottom, and the opposite face the top.
Build it
Step-by-step instructions
Step 1
Build the bearing base
Create a rigid low frame for one horizontal crank axle.
Brace beside the bearing locations.
Step 2
Set the crank pin
Mount an offset pin on a disk or short beam at a measured radius.
Check that the pin remains parallel to the axle.
Step 3
Assemble the yoke
Build a rectangular frame with a vertical slot longer than the crank diameter.
Reinforce both sides of the slot.
Builder checkpoint: After assemble the yoke, the first subassembly should stay aligned when handled gently.
Step 4
Capture the pin
Place the yoke over the crank pin and cap the pin without squeezing the slot.
Rotate a quarter turn to check clearance.
Watch for: If this stage binds or drifts, inspect frame flex before adding more parts.
Step 5
Add horizontal guides
Support the yoke above and below so it can move only left and right.
Leave a thin sliding gap on every guide face.
Step 6
Check the full circle
Turn the crank by hand through 360 degrees while watching both slot ends.
Move the axle or lengthen the slot if the pin contacts an end.
Builder checkpoint: After check the full circle, operate the build slowly and confirm that straight yoke oscillation begins without binding.
Step 7
Mark stroke extremes
Rotate to both horizontal crank positions and mark yoke location.
Measure the distance between marks.
Step 8
Run and compare
Complete ten slow turns, then compare smoothness with the crank-slider guide.
Stop if the yoke twists or the slot begins to spread.
Builder checkpoint: At the final checkpoint, The yoke travels smoothly through a stroke twice the crank radius for ten cycles while remaining parallel to its guide rails.
See the engineering
Why it works
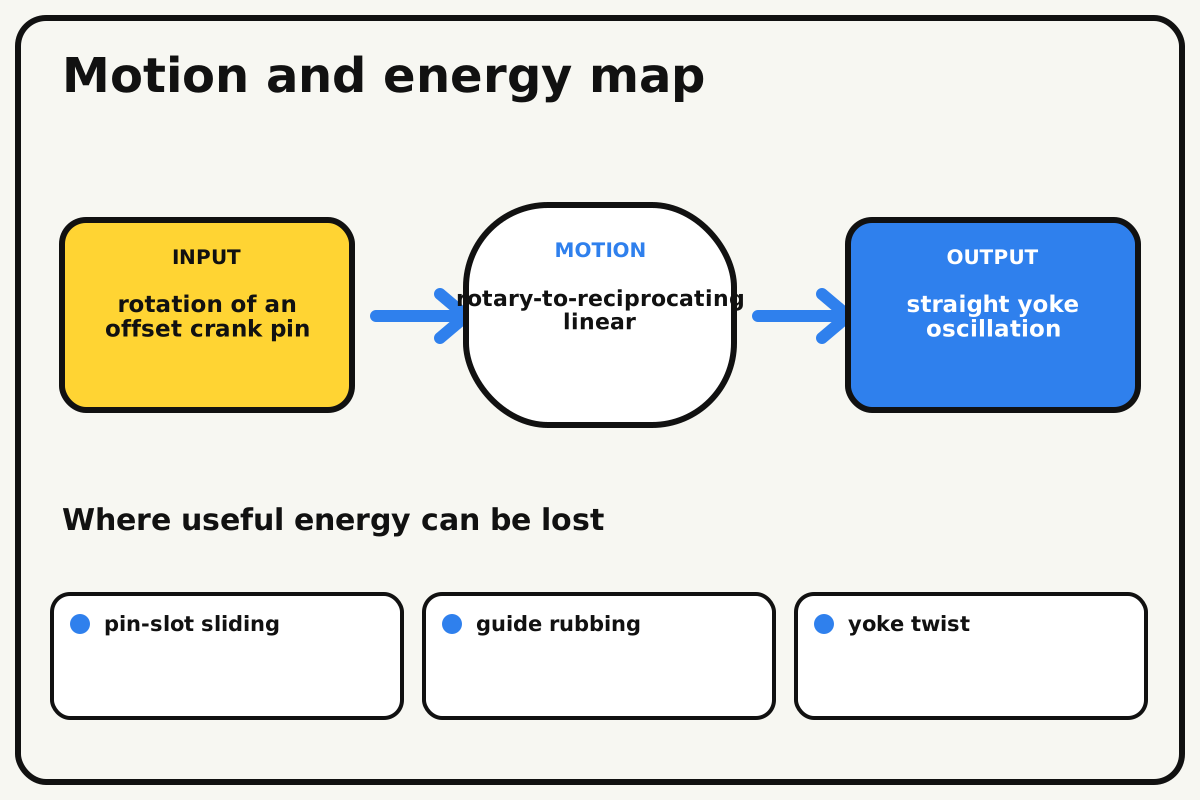
- Input
- rotation of an offset crank pin
- Output
- straight yoke oscillation
- Motion
- rotary-to-reciprocating linear
- Energy losses
- pin-slot sliding, guide rubbing, yoke twist, frame flex
Why this works
Scotch-yoke motion
The pin's horizontal coordinate follows a sine or cosine pattern as it rotates. The slot allows vertical pin motion while the yoke guide permits only horizontal translation.
Look for: The yoke moves fastest near mid-stroke and momentarily stops at both ends.
Where the energy goes
Efficiency and losses
The ideal model leaves out pin-slot sliding, guide rubbing, yoke twist, frame flex. These effects turn some input energy into heat, sound, vibration, or unwanted motion, so measured performance will be lower than an ideal calculation.
Look for: Run the build slowly and locate the first place where pin-slot sliding becomes visible or audible.
Math bite
Calculate yoke stroke
Formula: stroke = 2r
- Crank radius r = 25 mm
- The pin reaches +r and -r
Substitute: stroke = 2 × 25 mm = 50 mm
Result: The yoke travels 5 cm between extremes.
The position follows a sinusoidal pattern when crank speed is constant.
Clearance and frame flex may reduce the measured motion slightly.
Make it behave
Test, troubleshoot, and tune
Controlled test
Start here: Turn the unloaded crank for one cycle over four seconds.
Success looks like: The yoke reaches both marks, stays square, and the pin clears both slot ends.
Measure: Stroke, cycle time, and sideways yoke play.
Change: the slot-liner material
Keep constant: crank radius, yoke mass, guide gap, and crank rate
- bare slot
- smooth tile liner
- small roller on the pin
| Symptom | Likely cause | Confirm it | Fix |
|---|---|---|---|
| The pin hits a slot end | The slot is too short or miscentered | Rotate to both vertical crank positions | Lengthen or recenter the slot |
| The yoke twists | Guides are too short or far apart | Push one corner during a stopped test | Lengthen guides and add a second bearing surface |
| Motion feels rough at mid-stroke | Pin-slot rubbing is high | Mark the rough angle and inspect contact faces | Add a smooth roller or liner and running clearance |
| Stroke differs from two radii | Radius or extreme positions were measured incorrectly | Measure pivot center to pin center | Reset markers at exact horizontal crank positions |
Choose your tradeoff
A wider slot lowers binding but adds backlash. A rolling pin follower reduces sliding loss but adds diameter, so enlarge the slot and confirm full clearance before comparing efficiency.
Keep experimenting
Try another version
Short-stroke pointer
Use a 1-module crank radius and a lightweight paper yoke.
Rolling follower
Add a small wheel around the crank pin and compare effort.
Position graph
Record yoke position every 30 degrees and compare it with a cosine curve.
Build together
Classroom and access options
Classroom version
Teams can compare the slot-liner material while keeping crank radius, yoke mass, guide gap, and crank rate. Assign builder, tester, recorder, and explainer roles; have each team predict the result before collecting three trials.
Access adaptations
- Use high-contrast tape to distinguish input and output parts.
- Replace a small crank with a wider handle for an easier grip.
- Attach a wide handle to the yoke so its changing position can be felt safely while the crank is stopped.
Reflect on the design
- How did the slot-liner material change the measured result?
- Where did pin-slot sliding affect the build most strongly?
- What evidence shows that scotch-yoke motion explains the motion?
- Which change would improve straight yoke oscillation without creating a new problem?
Glossary
- Scotch-yoke motion
- The pin's horizontal coordinate follows a sine or cosine pattern as it rotates.
- Input
- The action or energy supplied to a system; here it is rotation of an offset crank pin.
- Output
- The useful response produced by a system; here it is straight yoke oscillation.
- Efficiency
- The fraction of input energy that becomes useful output instead of friction, sound, heat, or unwanted motion.
Build your dreams
One build can start the next.
Share what you learned, change one variable, and help another builder understand what worked.
Explore more guidesSources and build notes
An original BrickLabClips interpretation of a standard mechanical mechanism.
- Mechanism verification: Standard kinematics were checked for motion direction, constraint, clearance, and likely friction points.
Written and edited by BrickLabClips. Published 2026-07-22; updated 2026-07-22.